Monday 2 December 2019

Workshop Upgrade: Painting Supplies Toolbox

Project parts
     After using the electronics project for a couple months, I decided it was time for my expanding collection of paints to find a new home, thus the newest addition to my toolbox collection. My main objectives were to have somewhere to keep the paints that was away from dust and random workshop debris, and have the ability to just open the case and have all the available colours right there with brushes, ready to use.


Outer shell panels laid out for assembly
    Some math and digital mockups quickly narrowed the final design down to a pair of shallow trays facing each other vertically with a joint in the middle of one to serve as the opening, basically a custom mini-cabinet with storage on the doors. Printed parts are mostly custom aside from the hinges (thing:1396038) and latches (thing:2425378), handle is the same one as the electronics box project. Once all the printed parts were ready it was time for assembly.


Assembled case with partially installed paint racks
    Assembly was simple, just an exercise in box building, complex bit was figuring out how to keep the paint tubes from falling out of the upper row if the case got inverted somehow. My solution was a simple piece of dowling bolted in at the right height. The rest of the assembly was just measuring the vertical offset with one of the paint tubes as a spacer, then screwing them all down.

Inside of completed case
Outside of completed case
     With the racks installed it was time to load the paint tubes and sort out the brush storage. The holders for each paint tube are designed to hold the tube upside down, this prevents the annoyance of shaking a tube to get the paint out after long storage, but does create an interesting problem for storing brushes. After fiddling around with a bunch of ideas I ultimately went with custom brush pots that are essentially dummy paint tubes with half the body cut off and left open.

Paint brush holders
    It's already been used on a couple of minor projects and works quite well, only thing I'm going to add to it eventually is storage for a mixing pallet and something to put water in for washing brushes or watering down paints.

Monday 30 September 2019

Upgrading the Ender 3: Bond-tech gears, Bed Leveling Knobs and Part Fans

Ender 3 as currently configured
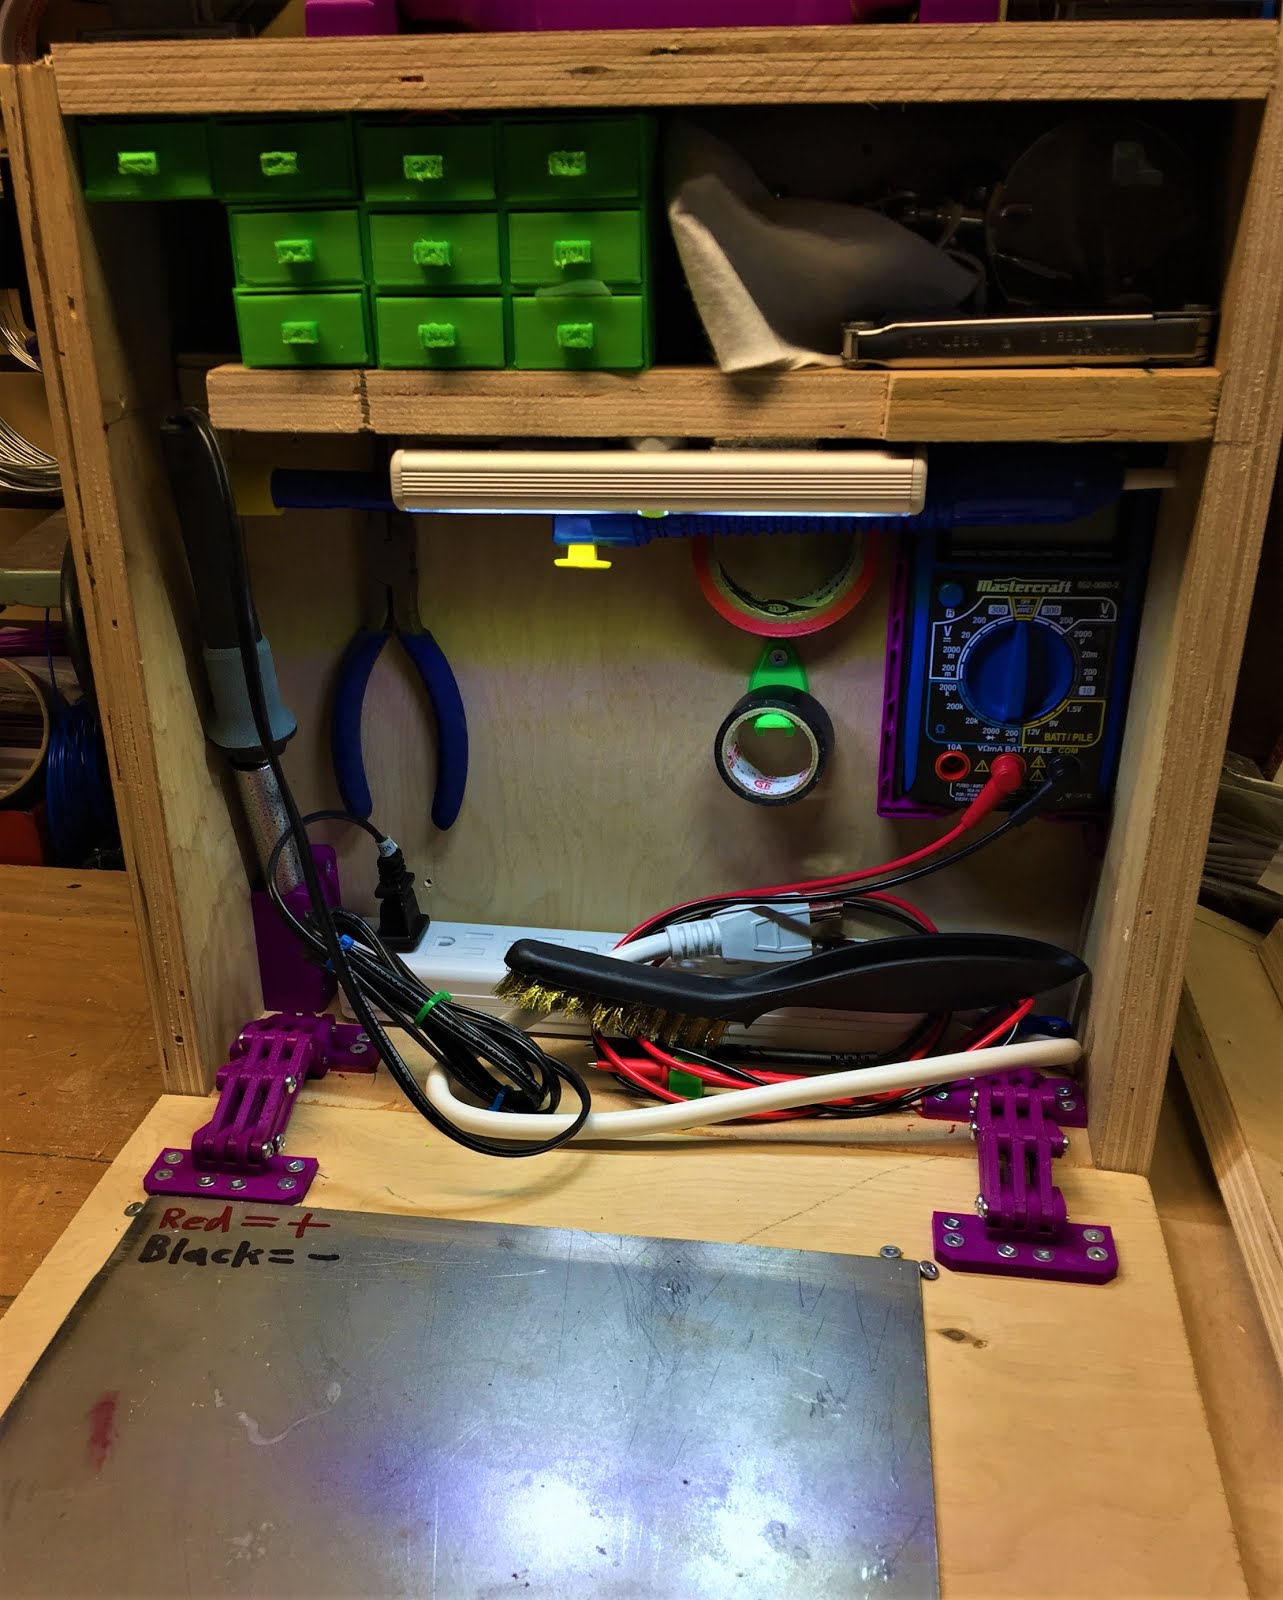
     After 6 months of using the Ender 3 in stock configuration I ran into a few areas that were showing signs of failing. So I thought I'd do a couple upgrades in the process of fixing them. Three key areas that were showing issues were the bed-springs, extruder idler arm, bed surface, and part-fan duct, so I picked out some upgrades for them.


1.75 mm Genuine BondTech drive gear kit.
    As the extruder is one of the highest wear parts on a 3D printer, any breakdown there is going to show up instantly in the printed parts. So I opted to upgrade to some BondTech drive gears with the original motor-end result is that I'm now able to print flexible filament without issue and haven't had a jam due to chewed up filament since. The housing is a PLA version of the official STL files from BondTech's website. They're surprisingly easy to print with an FDM machine-some slight supports in a couple minor areas and on the idler/compression arm and that was it.

Extruder Motor with BondTech mounting bracket
Fully assembled extruder block in use


   The next area that needed upgrading was my bed-levelling knobs. I came into the shop one morning to find one had spun clean off the bottom of the bed assembly from the vibrational force of normal operation. So I decided to install the same nyloc nuts solution that I've been using on my i3MK2 clone with some custom 3D printed replacement knobs.

Custom and Stock leveling knobs
New Leveling knobs fully installed, note M4 nyloc nut locking mounting screw
Flex-sure branded spring-steel build plate
    And speaking of the bed, I've been through a couple different printing substrates before settling on the current setup. I started with the official mag-bed upgrade after encountering bending issues with the strange flexible plate that came with the printer. The Creality mag-bed upgrade is much better than the starter plate, but the upper surface is far too rigid for practical use. Mine quickly developed cracks and started flaking apart with little bits stuck to prints. I was pleasantly surprised when a batch of spring steel plates that fit the Ender 3 build plate showed up on Amazon. It works perfectly with the magnet sheet from the official bed. I stuck some BuildTak on top and I've been using it ever since.

Radial part cooling fan (thing:3102082)
Electronics bay fan cover (thing: 3312856)
    And lastly are a couple upgrades from Thingiverse. First one is a 5015 radial part-cooling fan mount to replace the stock 4010 radial fan, (I've found that it gives about the same airflow with much lower noise levels, always a plus when working in the same space with the printer). The other upgrade is an elegant electronics bay intake cover, probably the simplest and most effective one I've found to date since it literally just snaps into place straight off the bed after printing. Combined, these two mods reduce the printer's noise level from a howl down to a minor background noise that is comfortable to work around.

Saturday 31 August 2019

Workshop Upgrade: Electronics Workstation in a Box

Mystery Box
     After doing a bunch of Electronics work on a recent project and having to chase my tools for such work though four or five toolboxes, I thought it was time to build something dedicated for such projects. After doing some research, I found inspiration in this 'Portable Electronics Workstaion' over on Instructibles, in particular the fold-down lid/worktop, so that got integrated with the design.


Initial tool layout inside the box
    Constructing the actual box was fairly straightforward, it's just some leftover birch plywood that was in the woodrack, cut to size and screwed together with some 2 inch 'deck screws', nothing fancy but it's very sturdy and I can dismantle it with a screwdriver if I ever want to change something. The hinges are thing:2401035, and the latches are thing:2425378, both fairly nice designs that work quite well with the handle being custom work of my own. I'm using one of the leftover steel plates from the Mega Kossel's old form as a working surface, flipped over the back is plain steel, plenty sturdy enough to handle a stray iron or other hot tool, I've just used some spare screws in pairs at the corners to clamp it to the inside of the lid for easy storage.


Second iteration of interior layout
    As for what's in the box, I've got my larger multimeter in the right-hand corner, then some hooks for electrical tape (thing:2900008), my soldering iron in a custom stand on the left, power-bar to control the iron along the bottom, and some needle-nose pliers and a multi-tool on the back wall. Just below the shelf is my de-soldering pump and an LED 'work-light' type flashlight, then some custom drawers on half of the shelf above. The drawers are filled with small consumables like heat-shrink tubing and solder, stuff that gets used all the time in small amounts during projects.


Fume extractor parts
    On the safety side, I've got a cheap filter mask just above the iron, along with a custom built fume extractor on the upper shelf. Parts wise, the fume extractor is a 6025 12V fan that was leftover from the airfiltered enclosure build, along with a section of a commercial fume extractor filter cut down to fit. I created a custom enclosure in Fusion360 to fit the fan, then printed the parts out and bolted things together.


Fume extractor with fan installed, filter waiting for installation
    Power is fairly simple, I've got an adapter for the batteries for my power drill that takes a 2.5mm barrel jack, so I just fitted a spare plug to the fan's power leads, simple and easy to maintain. The actual filter is activated carbon with a custom holder, it's secured with some M3 bolts for ease of replacement whenever needed. 


Completed Fume extractor ready for use
     Overall, I'm happy with how this workstation/toolbox turned out, it should make any future soldering and electronics projects much easier and safer going forward.


Completed toolbox ready to use.

Wednesday 26 June 2019

Part Review: TMC2208 Stepper Drivers

MKS TMC2208 Stepper Driver
      During a recent maintenance session on the Mega Kossel, I installed some TMC2208 stepper drivers into the X/Y/Z sockets to replace the original drivers. Below is a short guide on how to install them on a printer board, along with my impressions after a month of use on a primary production printer.

Ramps 1.4 with TMC2208 drivers on main motion axis
    As you can see from the above picture, these drivers are meant as drop-in replacements for the popular A4988-series that the majority of 3D printers use by default, so upgrading to them works mostly the same way on any control board with plug-in drivers. The key to getting them socketed properly is to line up the pin marked 'EN' or 'Enable' with the same corner of the board socket, it's usually marked on the board, but for the Ramps-series it's the corner pin closest to the power input, centre top in the picture above. The other main change needed is to pull the third jumper in the step selector, make sure to do this before installing the driver since that pin is different between the A4988 and TMC2208 pin-outs.


    The most noticeable difference upon starting a print is just how quiet the printer is, there's barely any sound other than the actual belts moving and the cooling fans, quiet a difference from the A4988 drivers. They also have some nice effects on print quality, prints made before the upgrade had a slight ripple effect that was from minor vibrations shaking the nozzle slightly, those have been vastly reduced with the TMC2208 drivers installed.

3DBenchy post installation,
     This is the #3DBency being printed in the video clip, as you can see the ripple pattern is still present but vastly reduced, so I'm quite happy with the end result of the upgrade, minor stringing aside, I'll probably update my other printers with them eventually as well. In conclusion, are TMC/Trinamic drivers worth it? Yes if you want to make the printer drastically quieter without redoing the motor mounts or are looking to maximize print quality. 

Wednesday 12 June 2019

Workshop Upgrade: Building a folding center bench.

3/4" hardwood plywood 
    Past month has been busy, had a couple of family projects to do, one of which resulted in a large stack of leftover plywood looking for a project. After tripping over the old plywood on sawhorses bench one more time, I decided it was time to replace it with something better suited to the job.


Workbench hardware, green brackets are thing:1259505
    Sorting through the stack revealed a pair of panels that combined to form a 30" by 84" worktop, a nice size for working on large projects but a bit cumbersome for my workspace all the time, so I needed to find some way of fixing that. Looking through my hardware bin turned up a 30" piano hinge, so I decided to make one side of the bench permanent and the other a folding extension that could be collapsed when not needed. More digging through the rafters turned up a couple lengths of 2" squares stock that could be cut down into legs and I was starting to get a feel for what my options were, so I fired up Fusion 360 to do some rough planning.


Rough design in Fusion 360
   Measuring the available materials fixed the workbench total height at 35" tall, so the design in F360 was useful for figuring out what length to cut the legs, along with providing a solid framework for the basic form. The old diagonal bracing angle iron from the Mega Kossel's previous frame proved to be exactly the right length for the long side bracing and shelf supports, so it got bolted onto the legs to help stiffen things. Bracing for the short sides is a couple lengths of 1/4" plywood that were in the stack, these also double as mounts for the 2.5" caster wheels.


Workbench assembled and folded
    Once the bulk of the assembly work was finished, it was time to give some thought to what type of finish to give the top, something hard-wearing and durable was needed, so I ultimately went with some semi-gloss Varathane that was leftover from another project. it's got 1 coat on all sides so far. Seems to be holding up fairly well, and I've got plenty more if it needs another coat later after some use.

Unfolded with first coat of Varathane drying
Folding Section Leg
    For supporting the fold-out section of the work-top, I was playing with a bunch of different ideas, but ultimately I decided to create a bolt-on leg that will clip to the underside of the worktop when not in use. This meant that I needed something light but strong, some leftover aluminum tubing from the Mega Kossel 2.0 fit the bill perfectly. The longest section that I had on hand was slightly short but I just modified the design for the mounting bracket and foot to account for that.

3D printed foot for folding section support
Folding support leg mounting bracket
    I'm fairly happy with how the leg came together, the printed parts were intended to have M5 bolts used to secure them but the fit as printed turned out to be nice and snug with friction alone, so the entire leg can be broken down without tools if needed or if something breaks at some point. There's a bit of a teaser for a future post in the mounting bracket for the leg, those are the former bed levelling knobs off my Ender 3 being used as wing-nuts to hold things in place, but more on that next time.

Friday 17 May 2019

Household 3D Prints: Kitchen Knife Block

Kitchen Knife Block
    A few weeks ago I was washing some dishes in the kitchen and noticed the appalling state of the old wooden knife blocks, both were caked with dust and other debris, some seemed to have become ingrained into the finish, so I decided to 3D print a replacement that could actually hold all of the knives in a single block. The first step was looking at the full set to figure out what the basic sizes and styles were, came out as 2 cleavers, 5 regular ones, 2 pairing and 1 carving fork from a couple different sets. Most of them were fairly close in size for each type, so I took the length and width of the larges examples for each, then drew up a layout in Fusion 360.

Kitchen Knife Block in Fusion 360

     One issue that the old blocks had was it was difficult to access the handles for some of the knives due to the slots being tightly spaced, so I measured the handle widths and used double that dimension for the slot offset to fix this issue. Modelling the final form took about a day, then I loaded the model into my slicing program, ran the process with my standard settings and hit a snag. It was estimating over 1kg of PLA to print, and I didn't have any spools that big, so I decided to flip it on end and ditch the infill to see if that helped. It worked and got the weight down to 900g or so, so I turned it loose on the Mega Kossel with an almost full spool of PLA.

Finished Knife Block in use
    After almost 2 days of non-stop printing, it finished at 46 hours and an empty spool of PLA. I'd previously done a couple small prints with the reel, so I actually ended up doing the last 3 cm on the Ender 3 with another spool, then using my 3D pen to weld the 2 sections together. This thing is officially the single longest print I've ever done in the past 4 years, so I'm fairly pleased with how it turned out.

Monday 25 March 2019

Beefing up a 3D printer: Mega Kossel 2.0

Mega Kossel, January 2019
     After installing the Titan Aero on the Mega Kossel in January, I started to notice some twisting induced artifacts in the prints. Investigating them lead me back to the old corner brackets that were starting to show signs of cracking and fractures after almost 4 years of nearly non-stop usage, so I decided it was time to replace them. I was playing around with some numbers on an old copy of the Kossel frame calculator spreadsheet and found that my current rod-arms were long enough to use with the 300mm heat-bed that I'd originally bought for the Proteus, so I set about locating the materials for a refit/rebuild.


Mega Kossel 2.0 Corner brackets
     After finding that the local hardware store stocked 25mm (1 inch) aluminum square tubing, I decided to implement a trick that I'd seen online of having 3 towers on the corners of the frame instead of 1 to reduce or eliminate twisting issues, so I reworked the corner brackets to allow for external towers with auxiliary hard-points. The Mega was still functioning fairly well so I had it print off the replacements prior to dismantling it for rebuild.

Mega Kossel partially dismantled
     Since I was going to be replacing the print-bed with a larger model, I basically ended up pulling the electrical harness, v-slot towers and effector assembly off the old form of the Mega and scrapping the old triangles for parts. Once the green braces that were holding the towers in at the bottom were removed, the towers started flexing by almost 5 degrees over the frame height, one of the upper triangle brackets even shattered during removal, so clearly the frame was overdue for a full refit.

Mega Kossel 2.0 Upper Triangle

Mega Kossel 2.0 Lower Triangle under construction

     Assembling the upper and lower triangles was fairly simple from a structural perspective, but not so much from the electrical side of things. The 300mm heat-bed uses a 24V heater and the entire electrical harness was previously 12V, so I did some research into dual power systems and ultimately took a page out of DC42's Delta Build, specifically using an SSR relay to isolate the 12V and 24V power feeds. I had a spare 60W 12V power brick floating around from when I upgraded the Sculptor with a heated bed last fall, so I put it to use to power the motors, hot-end and control board on the new Mega 2.0 setup.

12V and 24V power supplies partially installed
    Having doubled up power supplies in the lower triangle does impose a certain amount of space restrictions, so I ended up spreading the control boards around the edges after sticking the power supplies in the centre. The Ramps/Re-ARM stack is mounted to a customized version of the 2020 bracket with the OctoPi module stuck on the opposite side, the SSR and voltage converter are mounted where there was space to fit them past the bundled wire leads. Not the neatest layout, but it gets the job done.

Lower Triangle structure completed
Installing the SSR and bed power lines
    Assembling the outer frame braces was a bit interesting, I made a couple minor errors that resulted in there being nearly zero clearance between the carriages on the motion towers and the structural brace towers beside them, resulting in binding issues the first time I tightened one corner down fully. The solution was fairly simple, I just loosened the tower that was binding slightly, slipped some sandpaper into the gap, the slowly tightened the tower back up while rubbing the carriage on the sandpaper. The resulting gap was more than enough to get the carriages running freely and reliably.

Mega Kossel 2/3 completed
    Once the last tower was fully mounted, it was just left to run the electronics through motion tests to ensure that everything was connected to the proper interface. I did catch a rather funny issue that would have made everything print mirrored in one axis but that was the worst of the issues, so I promptly put it to full use on a couple of minor projects to test the quality of the prints before putting it to work.

Mega Kossel 2.0 Completed

Friday 25 January 2019

3D Printer Kit review: Creality Ender 3

Mystery Box
     New year, new printer in the workshop. Over the 2018 holiday season, I purchased a Creality Ender 3, so this is my mini-review of what's in the box and my experience using it to date. On first getting the box, it comes with just the shipping label stuck to the outside of the printer's box, so it's clearly marked as to the contents, it weighs about 6 kg at a rough guess, so be ready for a large and heavy package.


Interior of shipping box with top foam removed
    Opening the box reveals that much of the interior is packed with this grey plastic 'foam', quiet dense and sturdy. Unpacking revealed that all parts were securely nested in fitted holes, wrapped in cling film for the extrusions, and in multiple bags for the smaller parts.


Gantry parts fresh out of the box

Ender 3 base and Power supply freshly unpacked

     The printer is about half built straight out of the box, all the electrical systems are pre-installed and it's mostly just a matter of following the instruction sheet that's at the top of the box to get it fully assembled. I would recommend plugging the included microSD card into a computer, there's an animated video clip on it that goes through the entire build process step by step, it helps clarify a couple of points in the printed instructions. I did make a couple minor changes to the printer during assembly, mostly optimizations that the user community has come up with over the past year or so. 


Part cooling fan ducts, stock on the left, thing:3079610 on the right
     Probably the single most crucial change I made was to replace the stock part-fan ducting with thing:3079610, a 360 printed duct that puts the air where it's needed and not into the side of the heater block like the original will. I've been down the road of part-fans blasting the heater block on the Sculptor i3MK3 variant ducting, once is quite enough for that issue. This silly piece of plastic is probably why early versions of the Ender 3 shipped with the firmware thermal watchdog disabled, a problem that's apparently been solved on the one I received since a cold snap a couple of days after assembly set off the 'Min-Temp' error code.


thing:3303879 installed backwards
thing:2934313 installed
     Other than the part duct, the other changes were mostly minor optimizations, a cover for the milled slot in the base that the electrical bundle runs through (thing:2934313), and one of the many side-mount adapters for the stock spool holder (thing:3303879). But aside from those, I assembled the printer as designed and set about testing it.


Assembled Ender 3 almost ready to print
     After a bit of research turned up that Cura was the best slicer option for the Ender 3, I loaded up Cura 3.6 and discovered that it has a perfectly tuned profile for the Ender 3 baked right into the default preset package. Overall print quality is quite good, I've still got some slight nozzle drool issue, but I'm fairly sure that's just the PLA that I'm using. One issue that I found with the default 'Fiberboard' bed surface plate is that it warps under the stress of large surface prints, this lead to a couple of layer shift incidents during a long print, so I sourced the magnetic bed that's included on the 'Pro' version to try instead.

Early test print with default 'fiberboard' showing bending issue.

Ender 3 Magnetic Bed Sheet freshly installed.
     Once switched over to the magnetic version of the build plate, it's been fantastic performance all the way. I'd definitely recommend this printer to anyone who is just getting started with 3D printing, the quality and performance can't be beat at this price point.

Ender 3