 |
| Mega Kossel, January 2019 |
After installing the Titan Aero on the Mega Kossel in January, I started to notice some twisting induced artifacts in the prints. Investigating them lead me back to the old corner brackets that were starting to show signs of cracking and fractures after almost 4 years of nearly non-stop usage, so I decided it was time to replace them. I was playing around with some numbers on an old copy of the Kossel frame calculator spreadsheet and found that my current rod-arms were long enough to use with the 300mm heat-bed that I'd originally bought for the Proteus, so I set about locating the materials for a refit/rebuild.
 |
| Mega Kossel 2.0 Corner brackets |
After finding that the local hardware store stocked 25mm (1 inch) aluminum square tubing, I decided to implement a trick that I'd seen online of having 3 towers on the corners of the frame instead of 1 to reduce or eliminate twisting issues, so I reworked the corner brackets to allow for external towers with auxiliary hard-points. The Mega was still functioning fairly well so I had it print off the replacements prior to dismantling it for rebuild.
 |
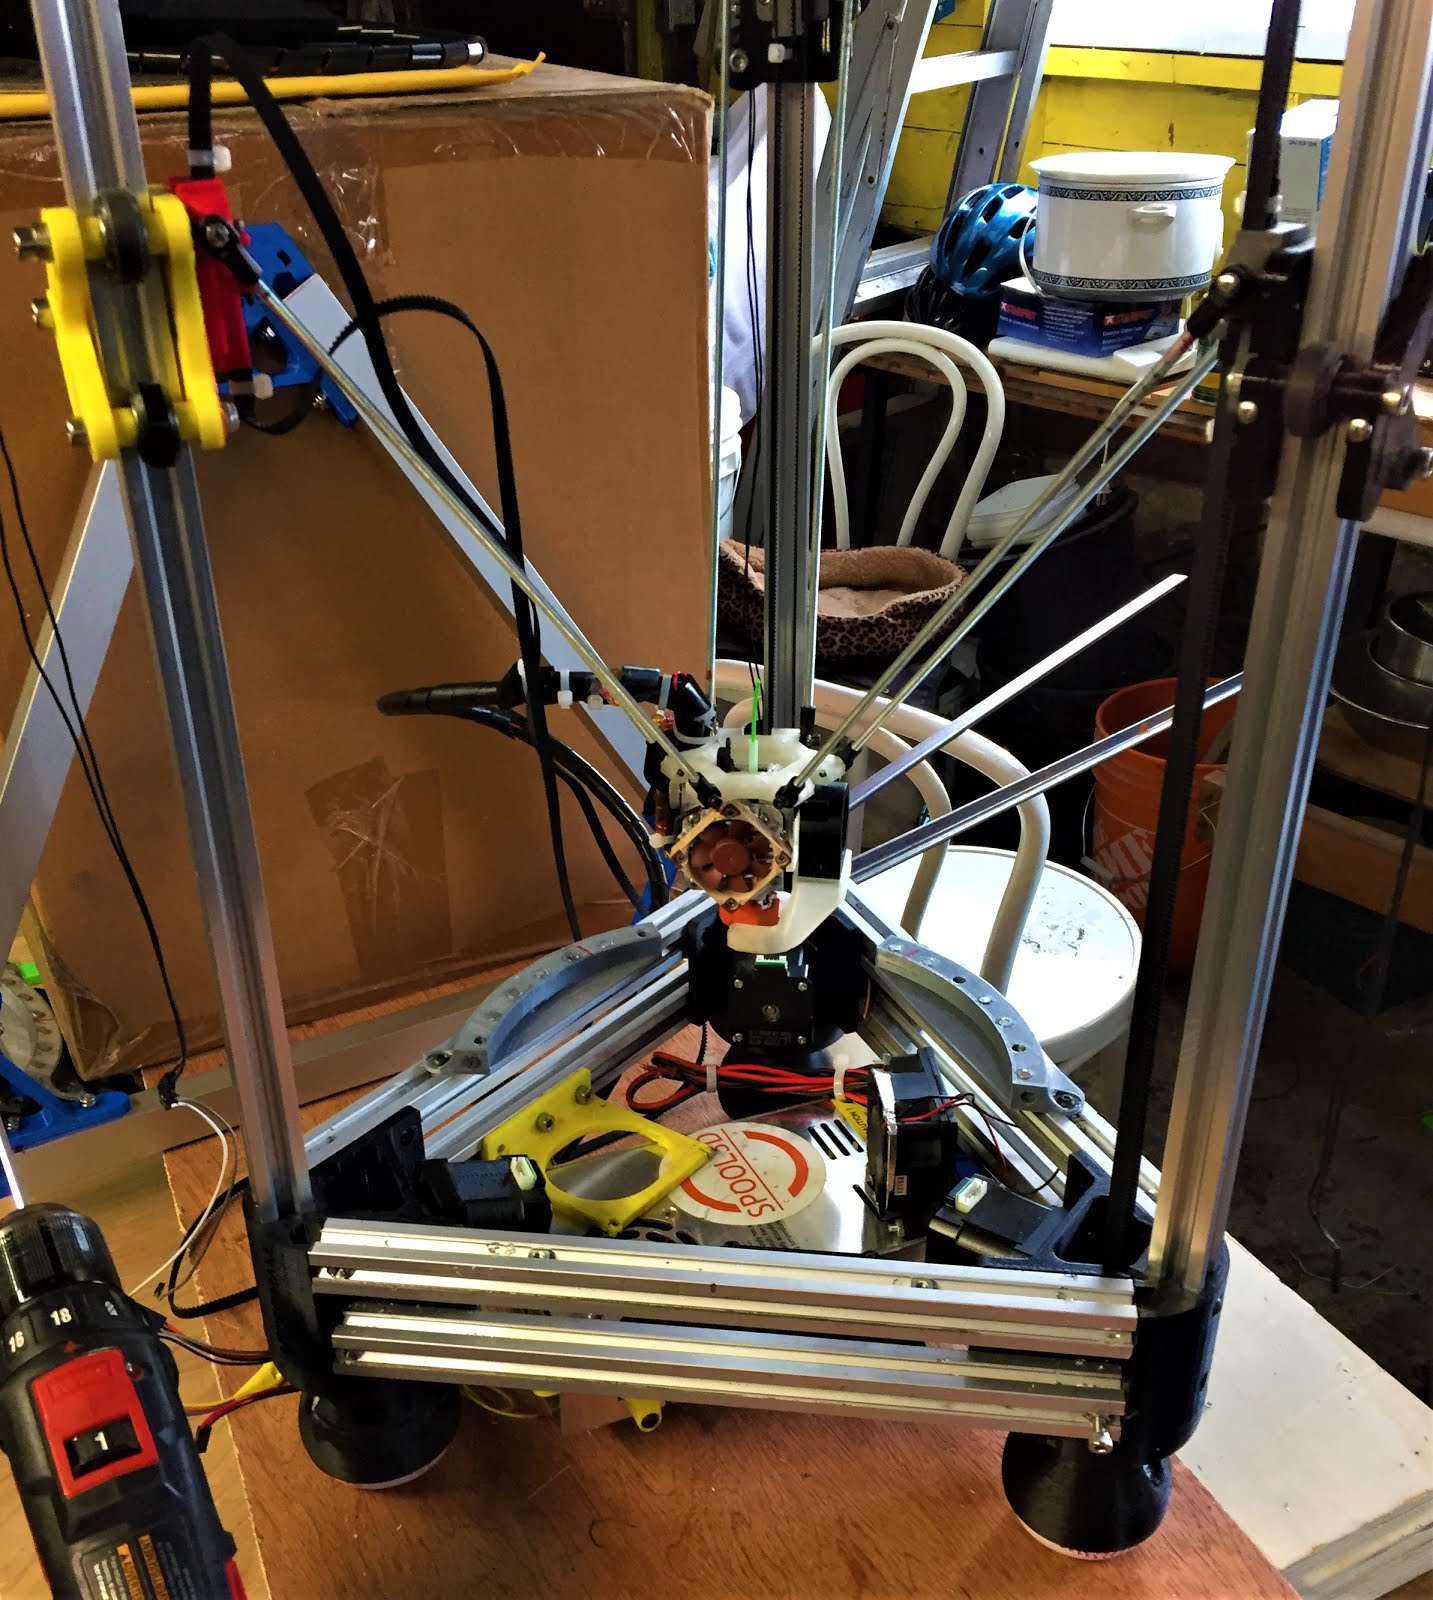
| Mega Kossel partially dismantled |
Since I was going to be replacing the print-bed with a larger model, I basically ended up pulling the electrical harness, v-slot towers and effector assembly off the old form of the Mega and scrapping the old triangles for parts. Once the green braces that were holding the towers in at the bottom were removed, the towers started flexing by almost 5 degrees over the frame height, one of the upper triangle brackets even shattered during removal, so clearly the frame was overdue for a full refit.
 |
| Mega Kossel 2.0 Upper Triangle |
 |
| Mega Kossel 2.0 Lower Triangle under construction |
Assembling the upper and lower triangles was fairly simple from a structural perspective, but not so much from the electrical side of things. The 300mm heat-bed uses a 24V heater and the entire electrical harness was previously 12V, so I did some research into dual power systems and ultimately took a page out of DC42's Delta Build, specifically using an SSR relay to isolate the 12V and 24V power feeds. I had a spare 60W 12V power brick floating around from when I upgraded the Sculptor with a heated bed last fall, so I put it to use to power the motors, hot-end and control board on the new Mega 2.0 setup.
 |
| 12V and 24V power supplies partially installed |
Having doubled up power supplies in the lower triangle does impose a certain amount of space restrictions, so I ended up spreading the control boards around the edges after sticking the power supplies in the centre. The Ramps/Re-ARM stack is mounted to a customized version of the 2020 bracket with the OctoPi module stuck on the opposite side, the SSR and voltage converter are mounted where there was space to fit them past the bundled wire leads. Not the neatest layout, but it gets the job done.
 |
| Lower Triangle structure completed |
 |
| Installing the SSR and bed power lines |
Assembling the outer frame braces was a bit interesting, I made a couple minor errors that resulted in there being nearly zero clearance between the carriages on the motion towers and the structural brace towers beside them, resulting in binding issues the first time I tightened one corner down fully. The solution was fairly simple, I just loosened the tower that was binding slightly, slipped some sandpaper into the gap, the slowly tightened the tower back up while rubbing the carriage on the sandpaper. The resulting gap was more than enough to get the carriages running freely and reliably.
 |
| Mega Kossel 2/3 completed |
Once the last tower was fully mounted, it was just left to run the electronics through motion tests to ensure that everything was connected to the proper interface. I did catch a rather funny issue that would have made everything print mirrored in one axis but that was the worst of the issues, so I promptly put it to full use on a couple of minor projects to test the quality of the prints before putting it to work.
 |
| Mega Kossel 2.0 Completed |


